Overview
Migrate your self-hosted Odoo installation to doploy in three simple steps: prepare your instance, create a backup, and restore to doploy. Need help? Free migration assistance is available. Contact support@doploy.ioStep 1: Update your odoo configuration file
Edit yourodoo.conf and set the following:
Restart Odoo
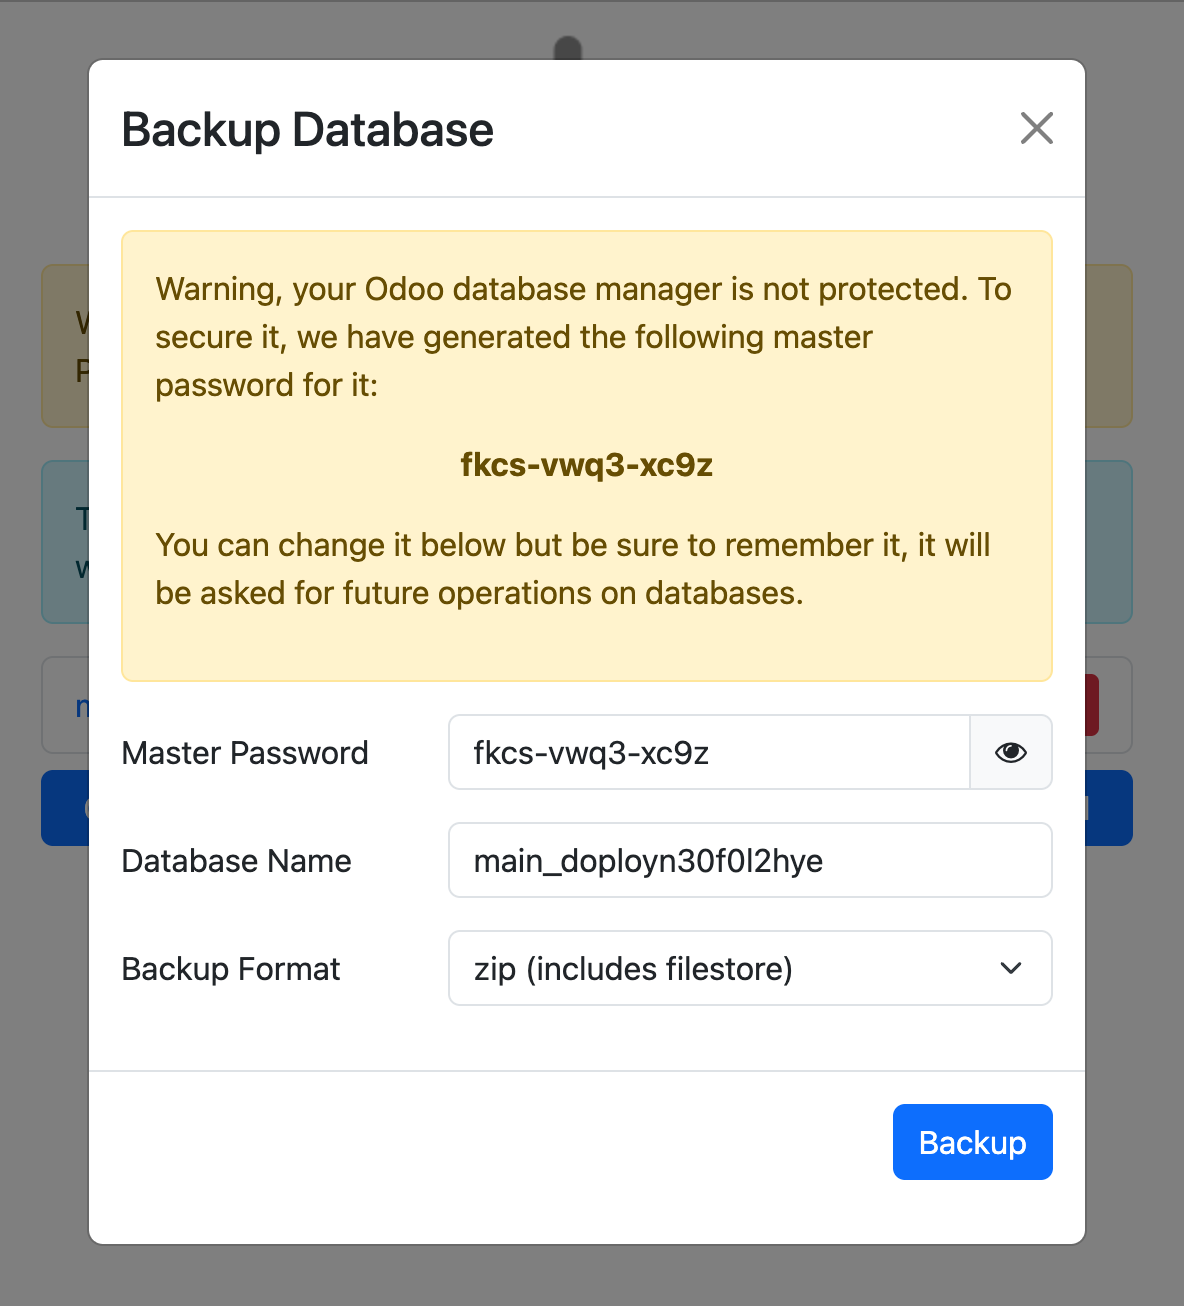
Step 2: Create Backup Using Odoo Web Interface
- Log in to your Odoo instance
- Go to the database manager:
http://your-domain.com/web/database/manager - Enter your master password
- Click Backup next to your database
- Choose format: zip (includes filestore)
- Click Backup
- Download the backup file
Step 3: Upload to doploy
Create Your Project (skip if you already have a project)
- Sign in to doploy: https://cloud.doploy.io
- Create a new project
- Select your Odoo version (must match your current version)
- Choose your server plan
Upload Your Backup
- Navigate to the Backups tab in your project
- Click Upload Backup
- Select your backup file (
.zipfile from Step 2) - Click Upload
Step 4: Create Instance and Restore
Create New Instance
- Go to the Deployments tab
- Click Deploy Odoo Instance
- Configure your instance:
- Branch: Select your Git branch
- Domain: Choose a domain name
- Database: Enter a database name
- Admin Password: Set your admin password
Restore Your Backup
- After the instance is created, go to the Backups tab
- Find your uploaded backup
- Click Restore
- Select the instance you just created
- Click Confirm Restore
- Replace the empty database with your data
- Restore all filestore attachments
- Preserve all users and permissions
Step 5: Verify Your Migration
Check Your Data
- Access your new doploy instance
- Log in with your admin credentials
- Verify your data restored successfully
Step 6: Update DNS
Once you’ve verified everything works:- Update your DNS settings to point to your doploy instance once ready
Need Help?
Free migration assistance is available. Contact support@doploy.io with:- Current platform, Odoo version, database size