Step 1: Select Your Instance
From your project dashboard, select the instance you want to configure DNS settings for.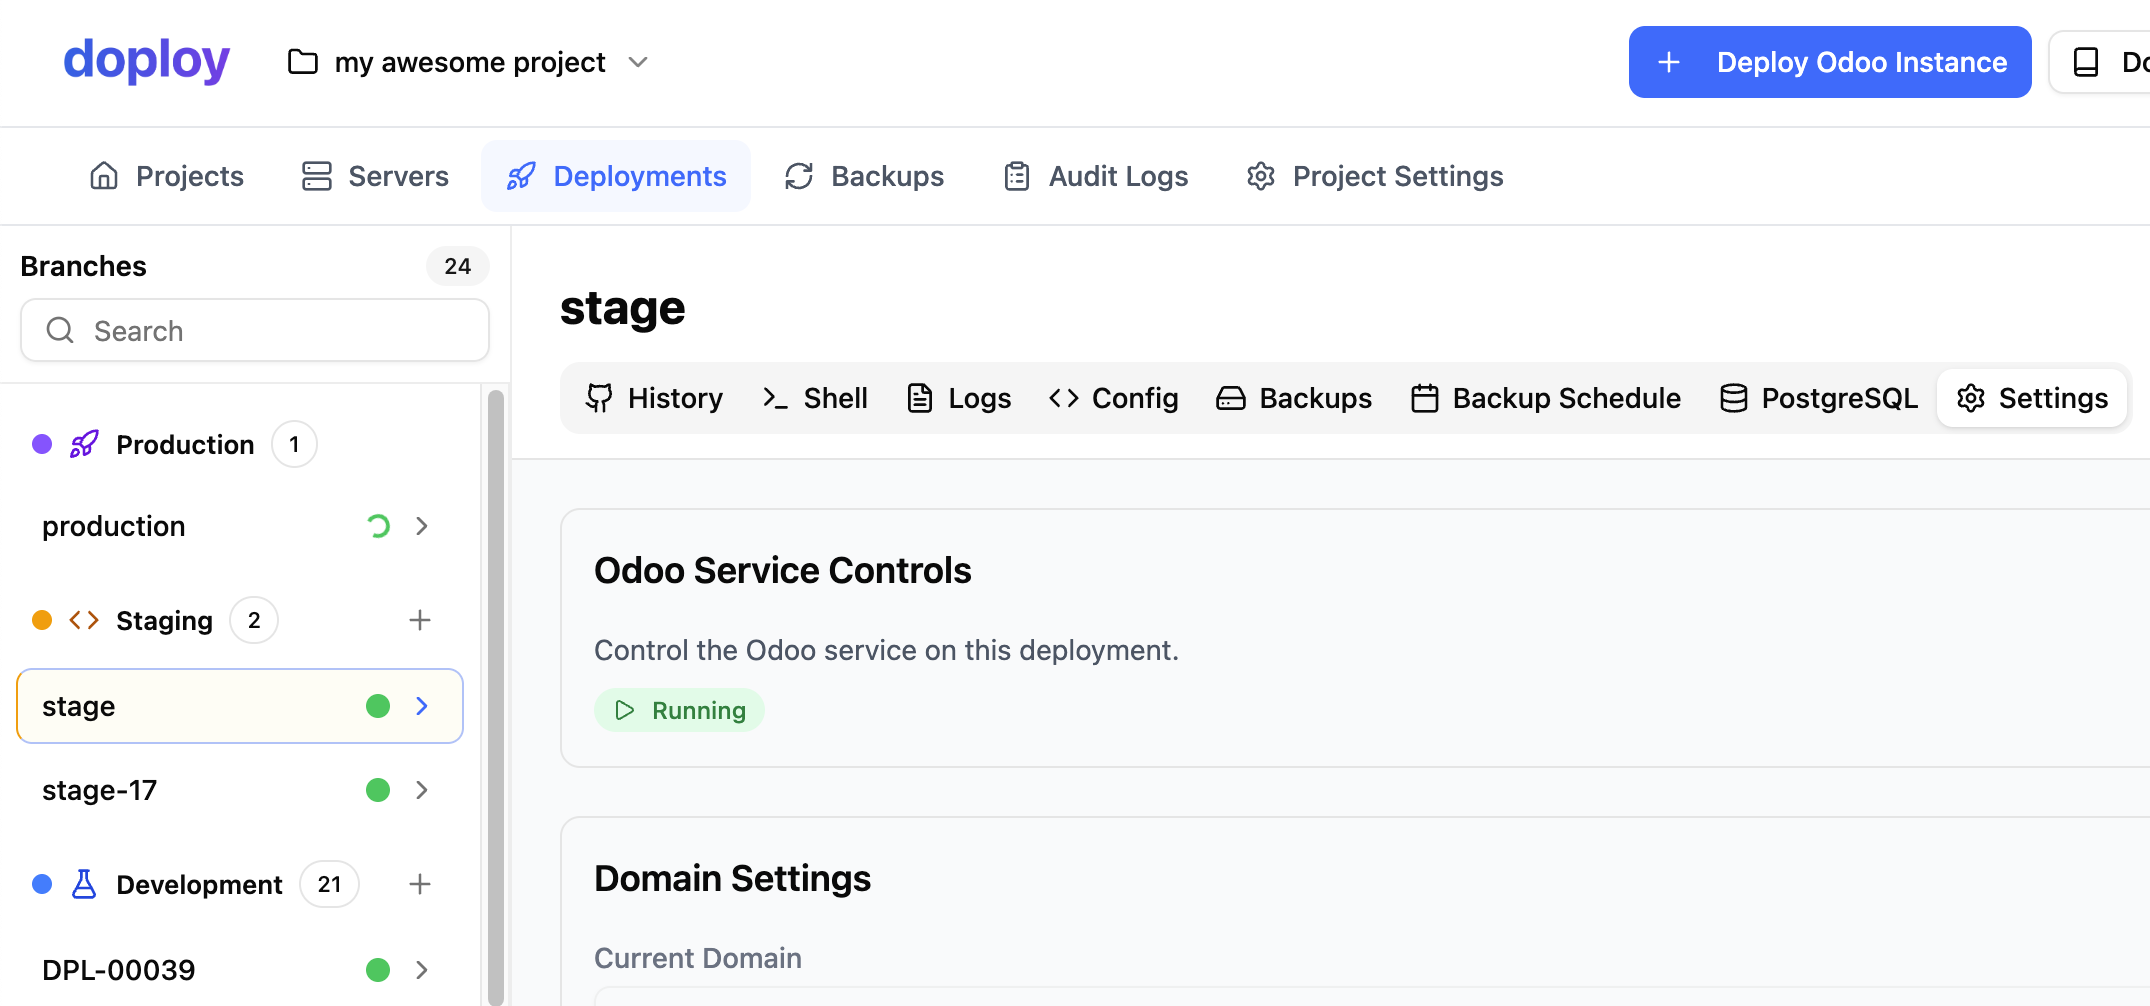
Step 2: Access Domain Settings
Navigate to the instance settings and go to the “Domain” section.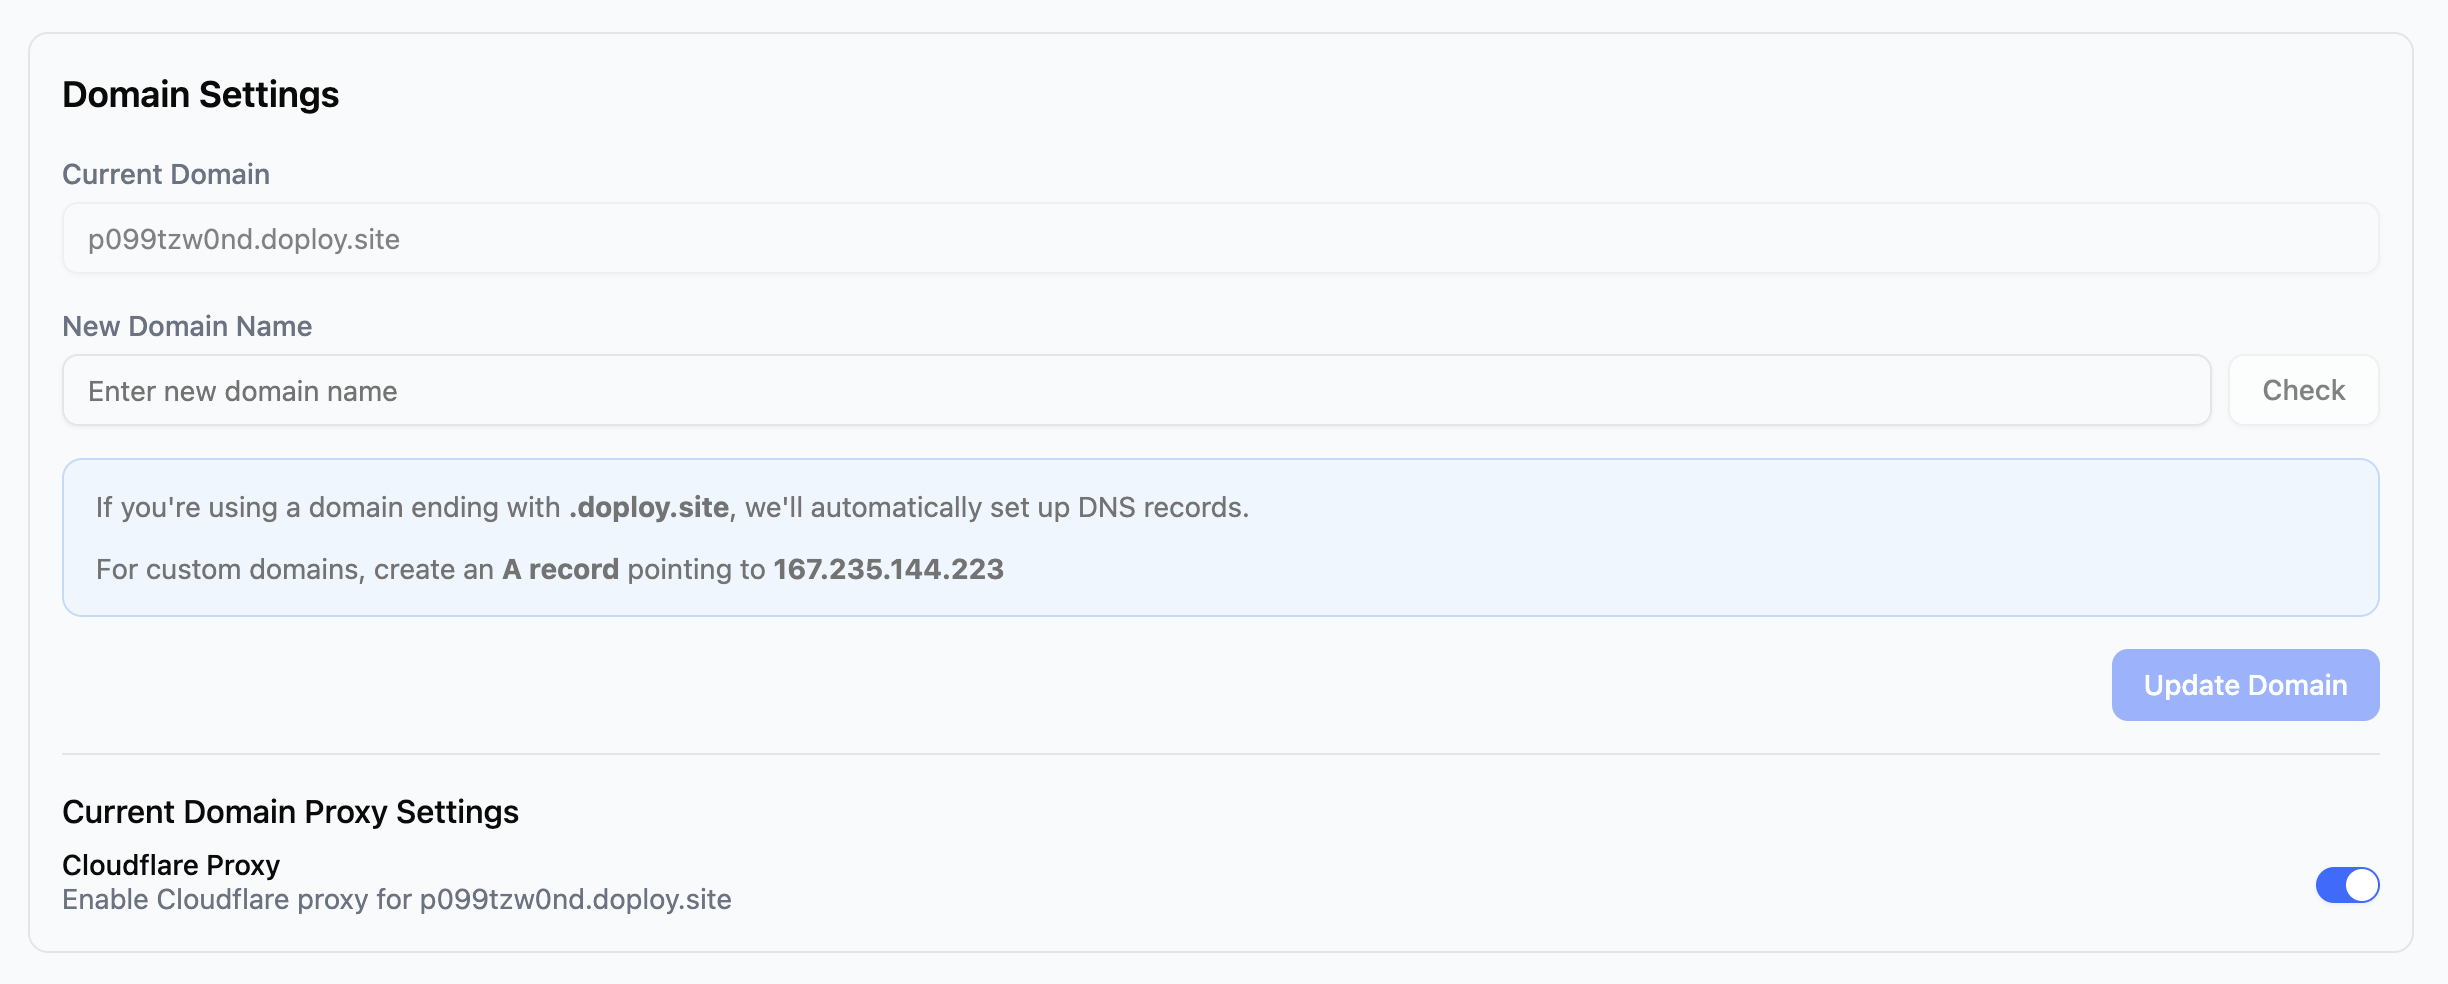
Step 3: Configure Your Domain
You have two options:Option 1: Use a Free doploy Subdomain
Use any available{your-name}.doploy.site domain at no cost. Simply enter your desired subdomain name and save.
Option 2: Use Your Own Custom Domain
If you want to use your own domain:- Get your instance IP address - This is shown in the domain settings
- Create an A record in your domain’s DNS settings:
- Save your changes - DNS propagation can take up to 48 hours, but usually completes within a few minutes
Cloudflare Proxy
If you’re using a{your-name}.doploy.site domain, the Cloudflare Proxy option is enabled by default. This provides additional protection for your instance including DDoS protection and caching.
You can disable the Cloudflare Proxy if needed, but we recommend keeping it enabled for the added security and performance benefits.